MENU
FortiGateのアンチウイルスの設定について
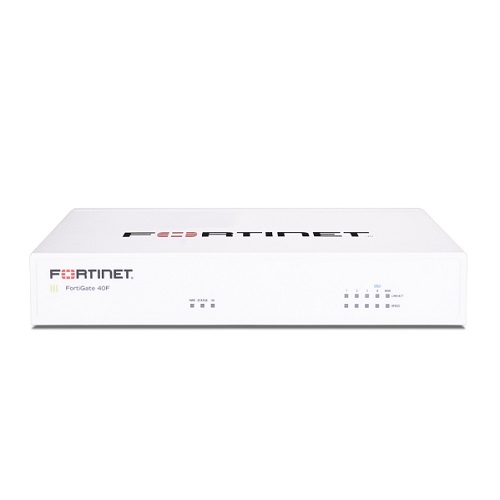
FortiGateのアンチウイルス(Antivirus)機能は、マルウェアやウイルス、スパイウェア、トロイの木馬などの脅威からネットワークを保護する重要なセキュリティ機能です。
ここでは、FortiGateでアンチウイルスを設定する際の基本的な考え方から具体的な設定方法まで、詳しく解説します。
FortiGateアンチウイルスの仕組み
FortiGateのアンチウイルスは、トラフィックを通過させる際に「プロキシ型」または「フローベース型」で検査を行います。
- プロキシベース(Proxy-based)
トラフィックを一時的にバッファに蓄えてから検査する方式。精度が高く、詳細な検査が可能。 - フローベース(Flow-based)
トラフィックをストリームとして流しながら並行して検査する方式。遅延が少なく、パフォーマンス優先。
アンチウイルスの適用方法
アンチウイルスは直接有効化するのではなく、「セキュリティプロファイル」を作成し、それを「ファイアウォールポリシー」に適用して利用します。
手順概要
- アンチウイルスプロファイルを作成・編集
Security Profiles > Antivirusから新しいプロファイルを作成、またはデフォルトのものを編集。
- プロファイル内でスキャン方式を選択
- 「Proxy-based」または「Flow-based」を選ぶ。
- 対象プロトコルの検査を有効化
- HTTP, HTTPS(SSLインスペクション併用), FTP, SMTP, POP3, IMAP など。
- 検出時のアクションを設定
- Block(遮断)
- Monitor(ログのみ)
- Quarantine(隔離)
- Allow(許可)
- ファイアウォールポリシーにプロファイルを適用
Policy & Objects > Firewall Policyで、該当するポリシーを開き、Security Profilesから Antivirus をオンにして設定したプロファイルを割り当てる。
設定例(GUI)
- アンチウイルスプロファイル作成
Security Profiles > Antivirus→Create New- プロファイル名例:
AV-Web-Mail - HTTP, FTP, SMTP, POP3, IMAP のスキャンを有効化
- アクション:検出時は「Block」に設定
- ログ記録を有効化
- ポリシーに適用
Policy & Objects > Firewall Policyで、
Internal → WANのポリシーを開くSecurity Profilesセクションで Antivirus を有効化し、AV-Web-Mailを選択
CLIでの設定例
CLIからも細かい設定が可能です。
# アンチウイルスプロファイルの作成
config antivirus profile
    edit "AV-Web-Mail"
        set comment "Antivirus profile for web and mail"
        config http
            set options scan
            set av-virus-log enable
            set action block
        end
        config smtp
            set options scan
            set action block
        end
        config pop3
            set options scan
            set action block
        end
        config imap
            set options scan
            set action block
        end
    next
end

# ポリシーに適用
config firewall policy
    edit 1
        set name "Internal-to-WAN"
        set srcintf "lan"
        set dstintf "wan1"
        set srcaddr "all"
        set dstaddr "all"
        set action accept
        set schedule "always"
        set service "ALL"
        set utm-status enable
        set av-profile "AV-Web-Mail"
    next
end
運用上のポイント
- ウイルス定義の更新
FortiGateはFortiGuardから最新のウイルス定義を取得するため、ライセンス契約と定期更新が重要です。 - HTTPSトラフィックの検査
暗号化通信を検査するには SSLインスペクション を併用する必要があります。 - 誤検知への対応
業務アプリが誤検知される場合は例外設定(Allow List)を検討。 - ログ監視
Log & Reportでアンチウイルス検出ログを確認し、侵入の兆候を早期発見。
まとめ
FortiGateのアンチウイルスは、セキュリティプロファイルの作成 → ポリシーへの適用という流れで設定します。
対象プロトコルごとに「ブロック」「モニタリング」「隔離」などのアクションを選べるため、業務要件に応じた柔軟な運用が可能です。
以上、FortiGateのアンチウイルスの設定についてでした。
最後までお読みいただき、ありがとうございました。


