MENU
FortiGateのタグVLAN設定について
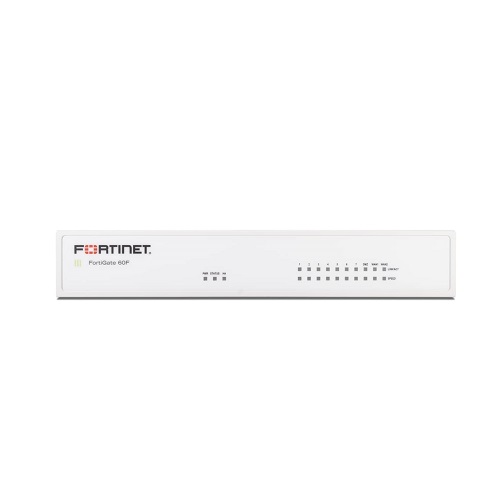
基本の考え方
FortiGateでは物理インターフェース(例: port1)の上に、VLAN IDを指定したサブインターフェースを作成することでタグVLANを扱います。
- タグVLAN: 802.1Qタグ付きフレームを処理。
port1.10のように設定。 - アンタグVLAN(ネイティブVLAN): タグなしフレームは親インターフェース(例:
port1)で受ける。
スイッチと接続する際は、FortiGate側の設定とスイッチ側のトランク設定(許可VLAN・native VLAN)が一致していることが必須です。
基本設定手順
VLANサブインターフェース作成(CLI例)
config system interface
    edit "port1.10"
        set interface "port1"
        set vlanid 10
        set ip 192.168.10.1/24
        set allowaccess ping
    next
    edit "port1.20"
        set interface "port1"
        set vlanid 20
        set ip 192.168.20.1/24
        set allowaccess ping
    next
end
set interfaceで親IFを指定set vlanidでVLAN IDを設定allowaccessは必要最小限に(管理VLAN以外では無効推奨)
VLAN間通信ポリシー
config firewall policy
    edit 1
        set srcintf "port1.10"
        set dstintf "port1.20"
        set srcaddr "all"
        set dstaddr "all"
        set action accept
        set schedule "always"
        set service "ALL"
    next
end
DHCPサーバ追加(例: VLAN10)
config system dhcp server
    edit 10
        set interface "port1.10"
        set default-gateway 192.168.10.1
        set netmask 255.255.255.0
        config ip-range
            edit 1
                set start-ip 192.168.10.100
                set end-ip   192.168.10.200
            next
        end
    next
end
インターネットアクセス(NAT有効)
config firewall policy
    edit 10
        set srcintf "port1.10"
        set dstintf "wan1"
        set srcaddr "all"
        set dstaddr "all"
        set action accept
        set service "ALL"
        set nat enable
    next
end

config router static
    edit 0
        set gateway 203.0.113.1
        set device "wan1"
    next
end
応用構成と注意点
- アンタグとの混在: アンタグは親IF(例:
port1)、タグはサブIF(例:port1.10)に収容。 - LACP使用時: 先にアグリゲートIF(例:
agg1)を作り、その上にVLANサブIFを定義。 - “lan”やスイッチIFをベースにする機種: 小型モデルでは
lanがベース。親IFを確認して設定。 - FortiLink運用: FortiSwitchを管理する場合は、VLAN定義は
switch-controller配下で行い、ゲートウェイ用途のみFortiGateにVLAN IFを作成。 - HA環境: VLAN設定は両ノードで自動同期されるが、スイッチ側のトランク許可VLANや配線が一致しているか必ず確認。
トラブルシュートで使うコマンド
- VLAN一覧:
diagnose netlink vlan list - ルーティング確認:
get router info routing-table all - ARP確認:
get system arp - フローデバッグ:
diagnose debug flow filter addr 192.168.10.50 diagnose debug flow trace start 100 diagnose debug enable - タグ確認(スニファ):
diagnose sniffer packet any 'vlan 10 or vlan 20' 4 0 a
運用チェックリスト
- FortiGateとスイッチでVLAN ID・native VLANが一致しているか
- 親IFにIPを残さず、不要な競合を避けているか
- DHCP/NAT/デフォルトルートを正しく設定したか
- 管理アクセス(allowaccess)を最小化しているか
- Zoneを活用してポリシーを簡潔化しているか
- HA/LACP利用時に物理・論理構成が正しく揃っているか
まとめ
FortiGateのタグVLAN設定は「親IF上にVLANサブIFを作り、必要に応じてDHCP・ポリシー・NATを組み合わせる」というシンプルな流れです。
ただし、アンタグの扱いやスイッチとの整合性、HAやFortiLinkなど周辺機能との組み合わせには注意が必要です。
正しく設計すれば、社内LAN・ゲストLANの分離やマルチセグメント構築を安全に実現できます。
以上、FortiGateのタグVLAN設定についてでした。
最後までお読みいただき、ありがとうございました。


